
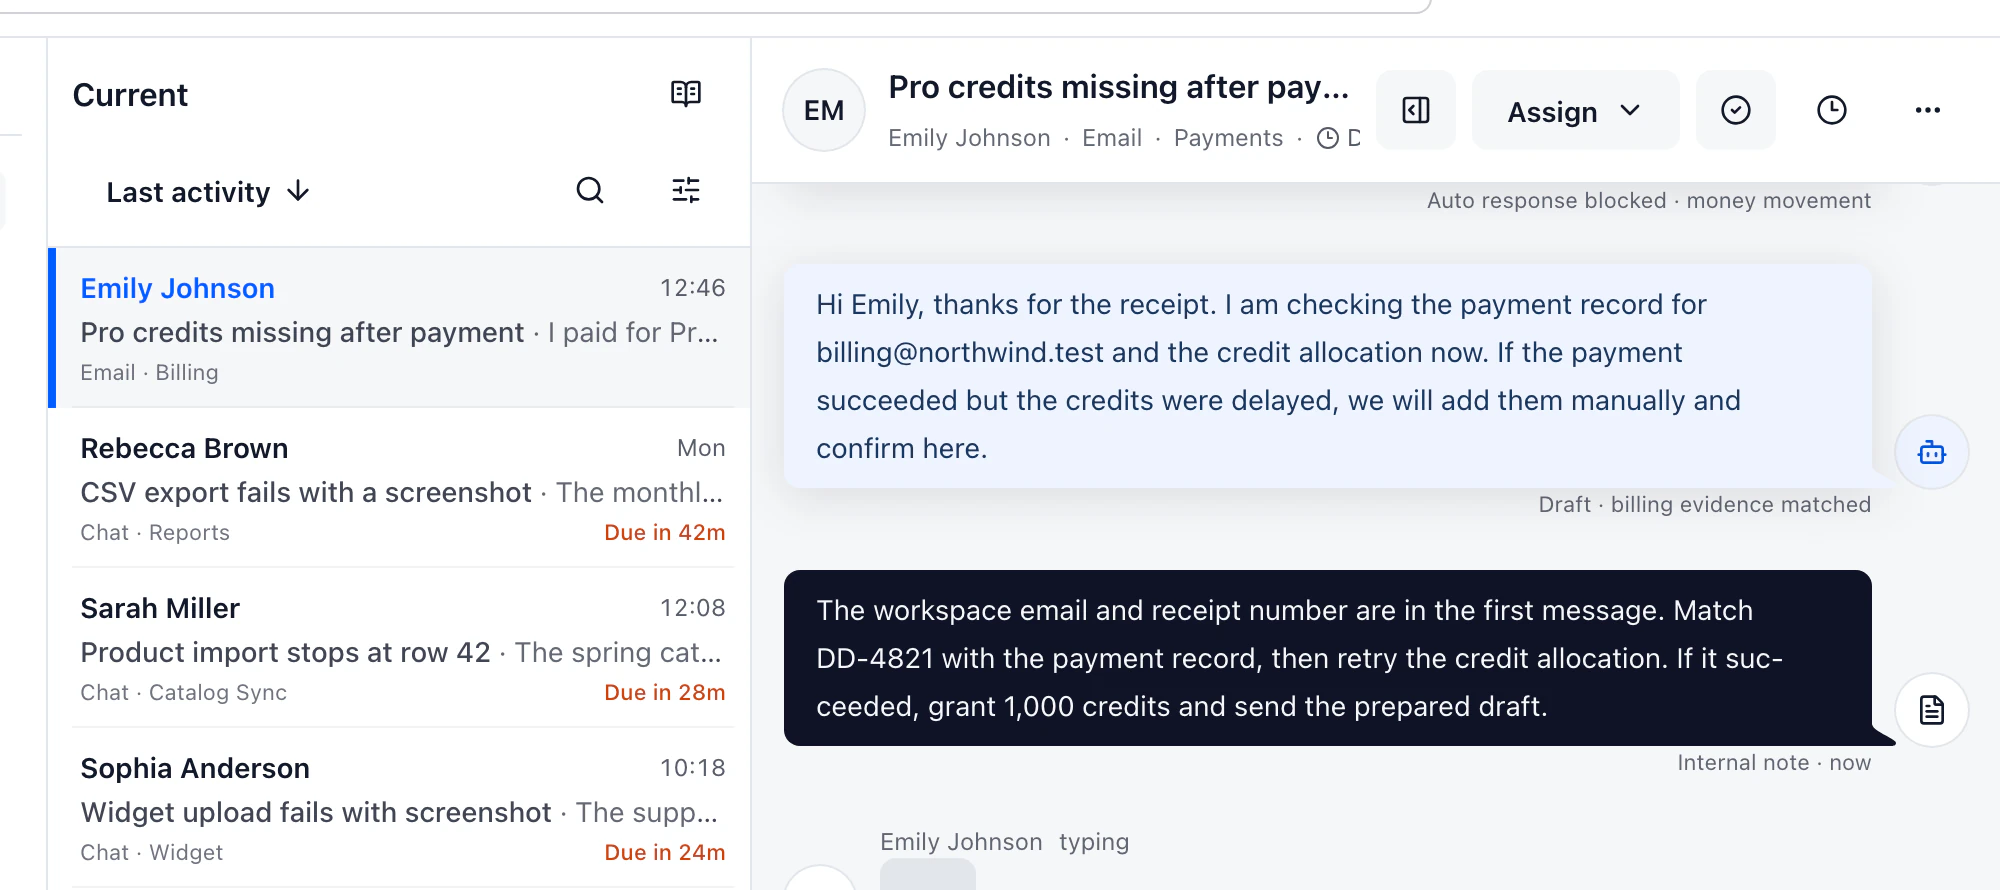
Take a message that arrived while its usual owner was away. Could another teammate tell who was meant to reply, what had already been checked and whether the customer was still waiting? If your Outlook setup answers those questions reliably, keep it. If the answers live in a separate team chat, test the same handoff in DobroDesk before switching.
Check what kind of mailbox you have
Microsoft 365 administrators can give people access to a shared mailbox so they open it from their own Outlook accounts. For example, support@example.com could be a shared mailbox delegated to individual staff. If it is instead a regular mailbox with its own sign-in, use the direct Outlook connection in DobroDesk.
For a shared mailbox, the person connecting DobroDesk signs in with their own Microsoft work account. Ask your Exchange administrator to grant that account Full Access and Send As on the shared mailbox. Full Access opens the mailbox. Send As allows replies to come from its address. Send on Behalf alone does not meet the DobroDesk setup requirements.
Try a handoff with a real support scenario
Send a test email about an order you can verify. In DobroDesk, assign the conversation to one teammate and ask them to leave a private note with what they checked. A second teammate should be able to take over from that note and the original email. Check the reply in the test inbox. It should come from the support address, and the private note should stay with the team.
If you keep writing replies in Outlook during the trial, agree which team members will handle the test messages in DobroDesk. That makes it easier to tell whether the team can follow the request from receipt to reply.
Three ways to handle Microsoft 365 support email
Start with the mailbox you already have. The sign-in identity and sender permissions depend on whether it is a shared mailbox or a regular Outlook account.
| What to check | Shared mailbox in Outlook | Regular Outlook mailbox in DobroDesk | Shared mailbox in DobroDesk |
|---|---|---|---|
| Who signs in | Each member opens the shared mailbox from their own Outlook account. | The account for the connected mailbox. | A Microsoft work account with Full Access and Send As on the shared mailbox. |
| Where new requests go | The shared mailbox in Outlook. | The DobroDesk Inbox selected during setup. | The DobroDesk Inbox selected for the shared mailbox. |
| How the team hands off a request | The team agrees how to claim, pass on and close work in Outlook. | Assign the conversation and leave a private note beside the email. | Assign the conversation and leave a private note while keeping the shared address. |
| What the customer sees | The sender depends on the permissions and address the teammate uses. | Replies from the connected Outlook address. | Replies from the shared address using Send As. |
What to check before switching the team
Run these checks with one support address and at least two teammates before changing how the team works.
- 1.Confirm in Microsoft 365 whether the address is a shared mailbox or a regular user mailbox.
- 2.Connect the right mailbox type, select the destination Inbox and confirm both teammates can access it.
- 3.Send a new message from an outside address and find it in the expected Inbox.
- 4.Hand the conversation to the other teammate with an internal note and ask them to reply.
- 5.Check the From address in the received reply, then answer it and confirm the follow-up lands in the same conversation.
Microsoft permissions and DobroDesk setup
Use the Microsoft documentation to confirm mailbox permissions, then follow the DobroDesk guide for your mailbox type.
Explore the shared support workflow
Test with the address your customers use
Start with one support address. Connect it to an Inbox and use the checklist above to test receipt, assignment and reply.
Get started