

What you'll achieve
Customers see the appointment time in a familiar region with the current + or - hours, then confirm one clear request after checking the details.
Prepare the appointment flow
The website widget shows appointment times only when a published Procedure has a booking step and the connected service calendar can return availability. Test the same public website address that customers will use.
The time zone in the booking flow is for the person choosing the appointment. It does not change your calendar rules or move the saved appointment to another service calendar.
- Publish the Procedure only after its dry test shows the expected service, calendar and confirmation path.
- Check the service calendar hours and exception dates before testing a date that should be available.
- Keep the widget's allowed website address and Inbox route ready so you can find the test request afterward.
Choose a date, time and region
The + or - sign and hours show the time difference for this region. The difference can change after a daylight-saving transition, so choose the named region rather than trying to save a fixed number without a region.
Open the website widget and start the appointment flow. Choose the service when the widget asks which appointment you need.
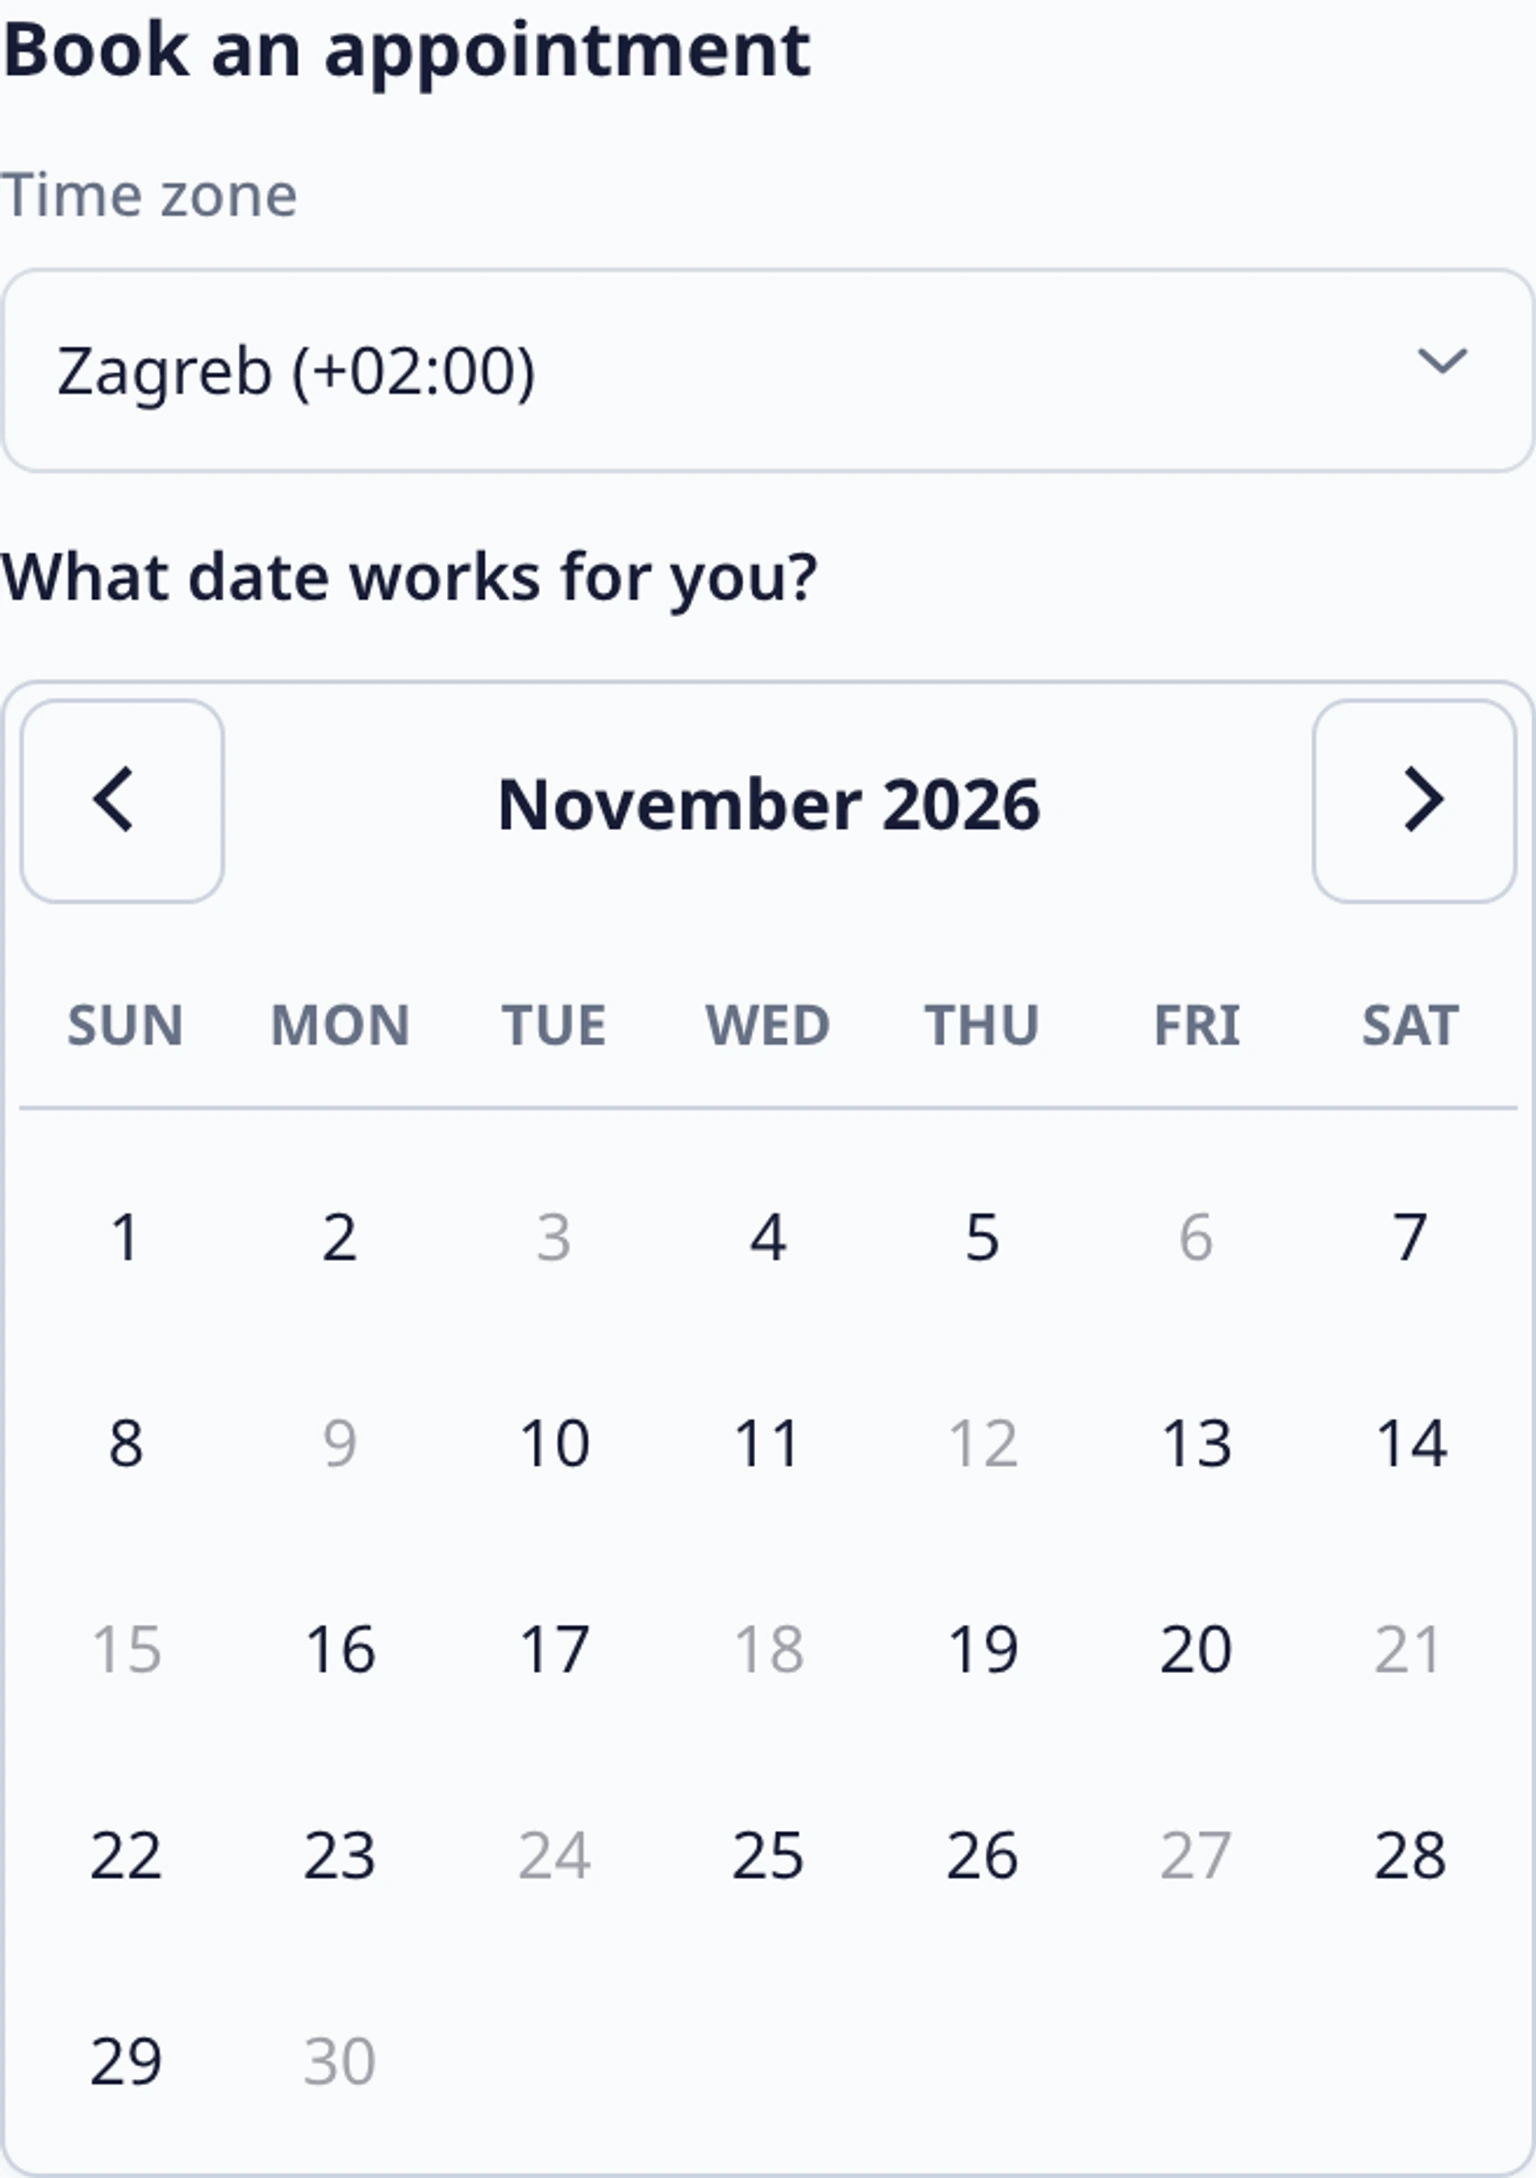
Choose one of the nearest dates with available times. Move to another month when the first available dates do not work for you.
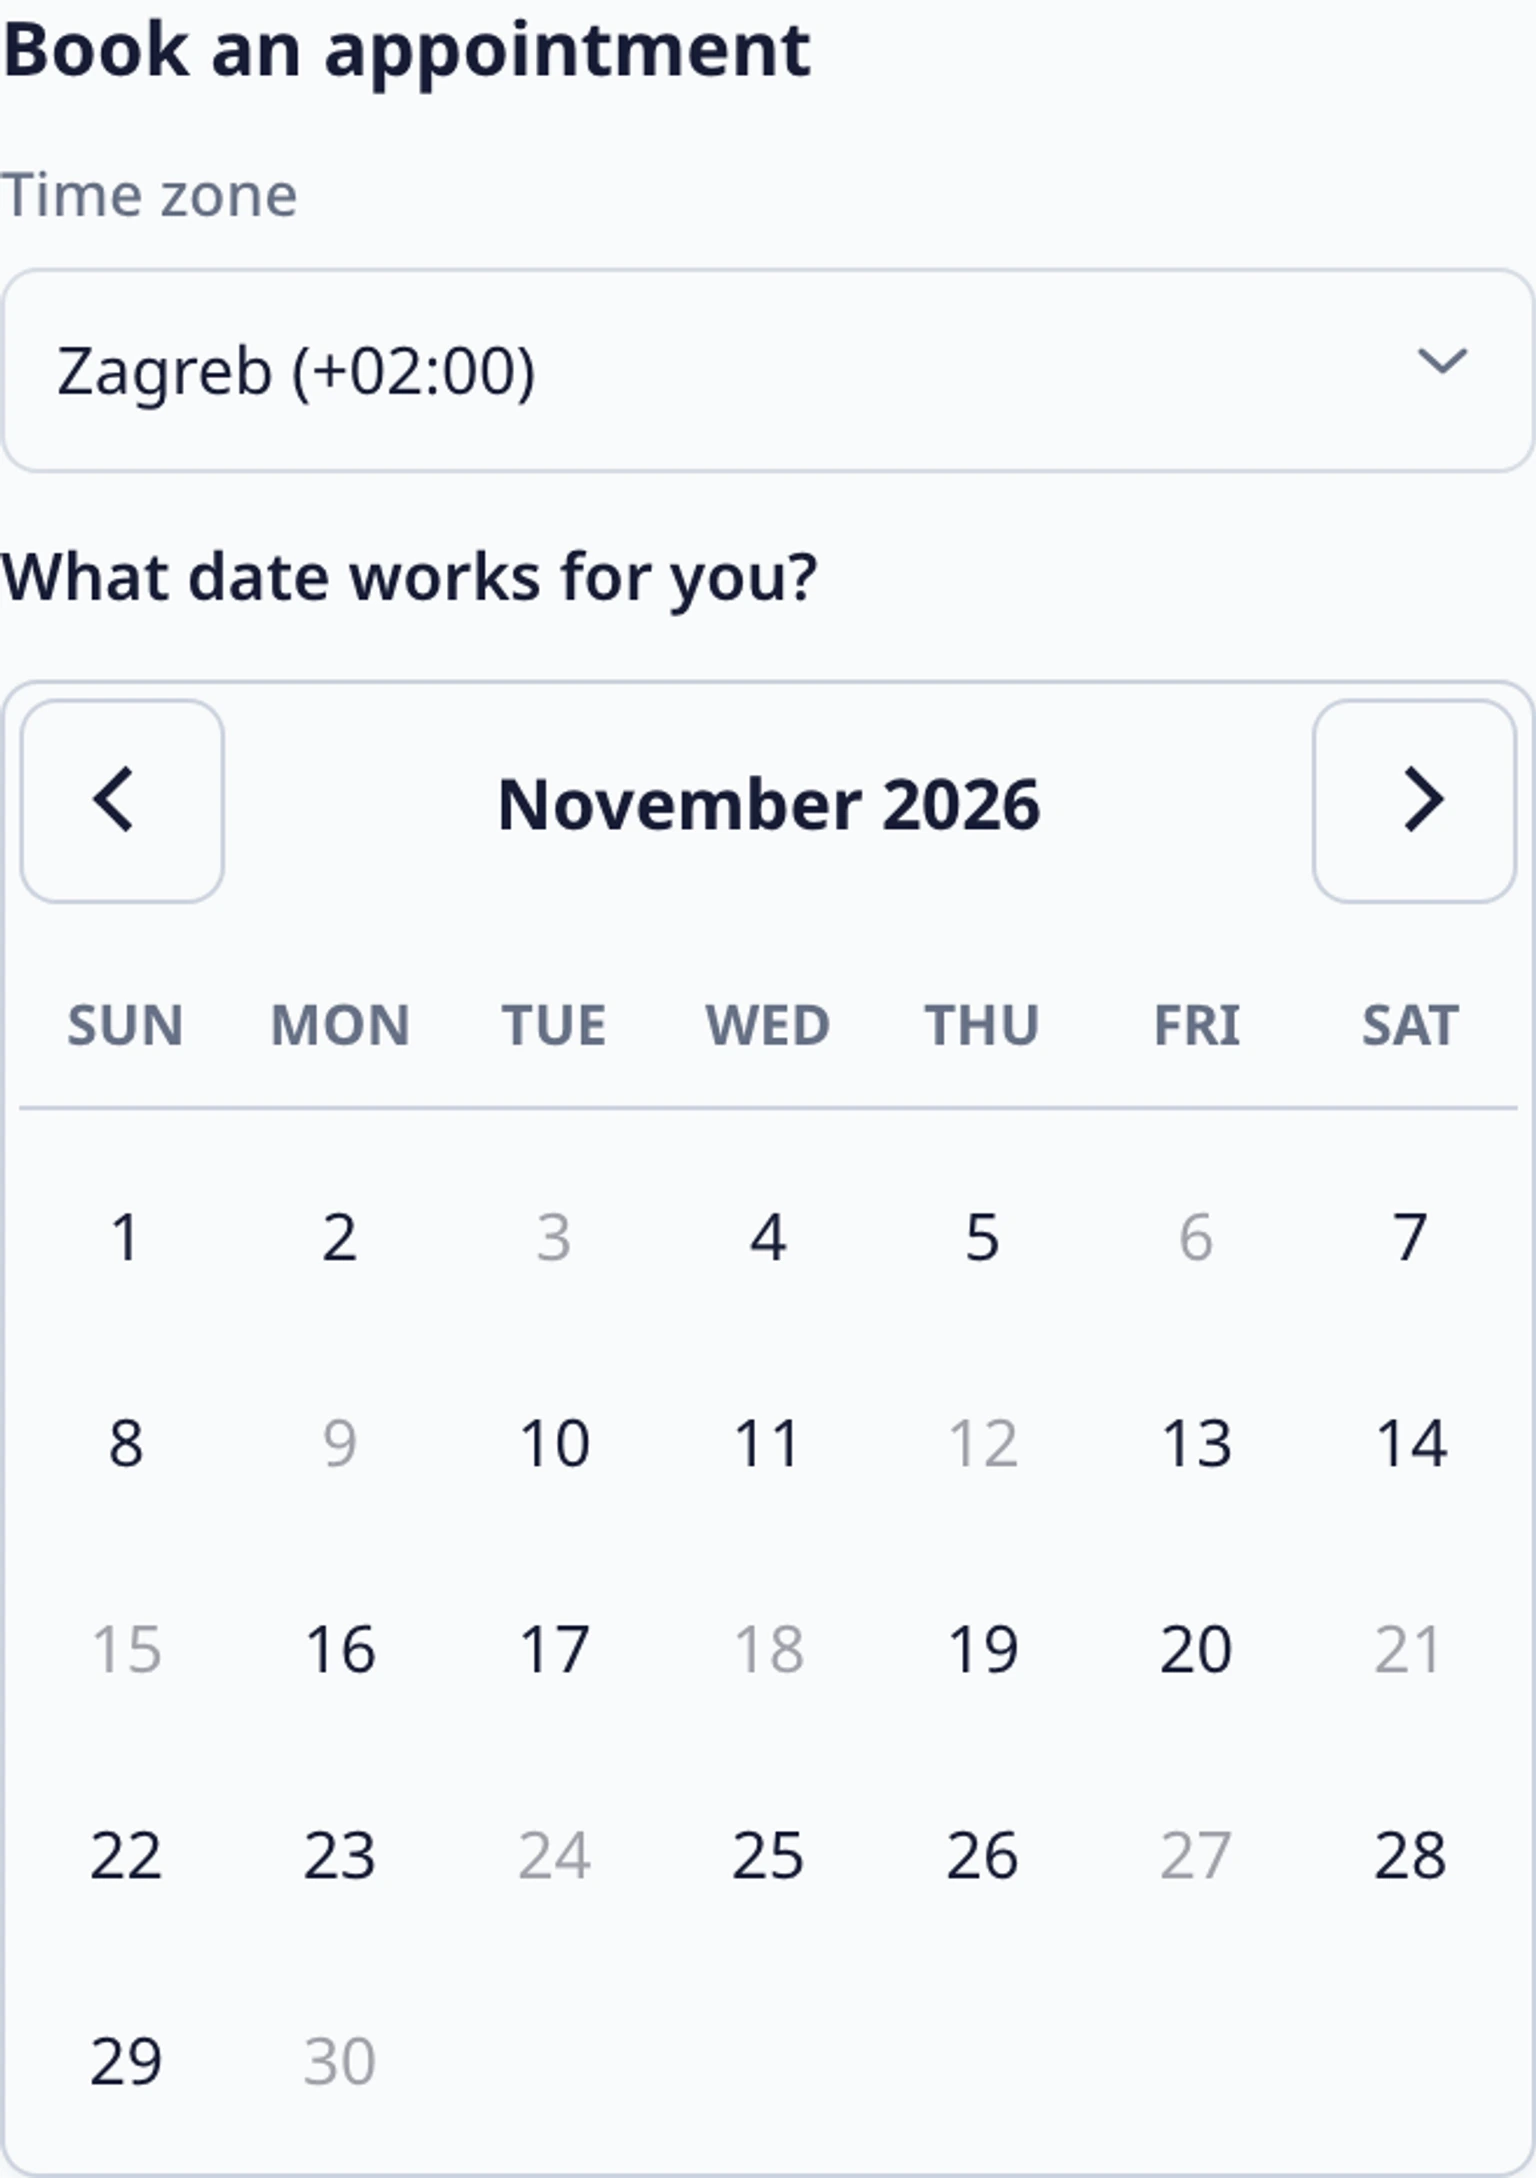
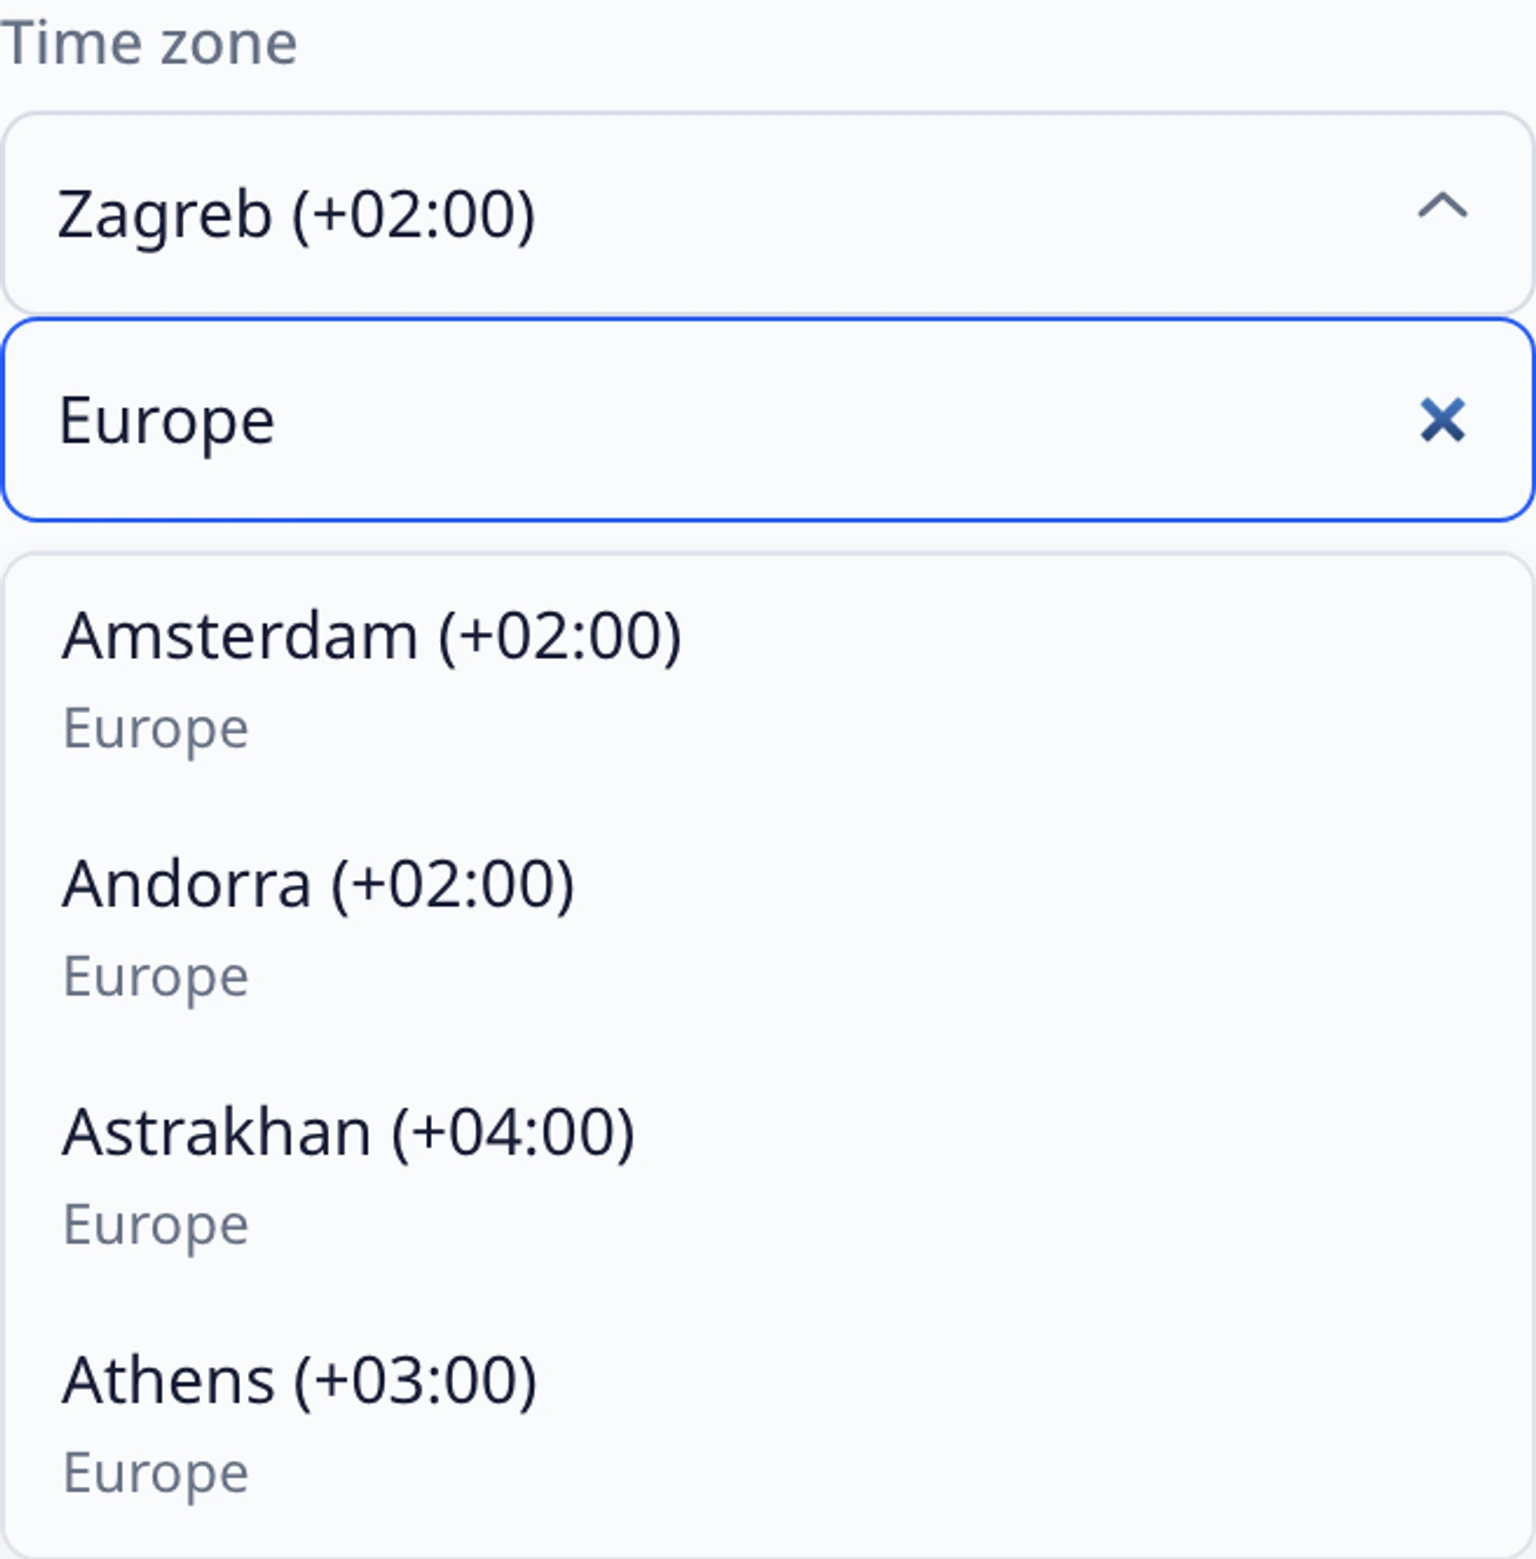
Open the time zone selector and search by a region or city, for example Zagreb. Select the matching option with its current + or - hours, such as Zagreb (+02:00).
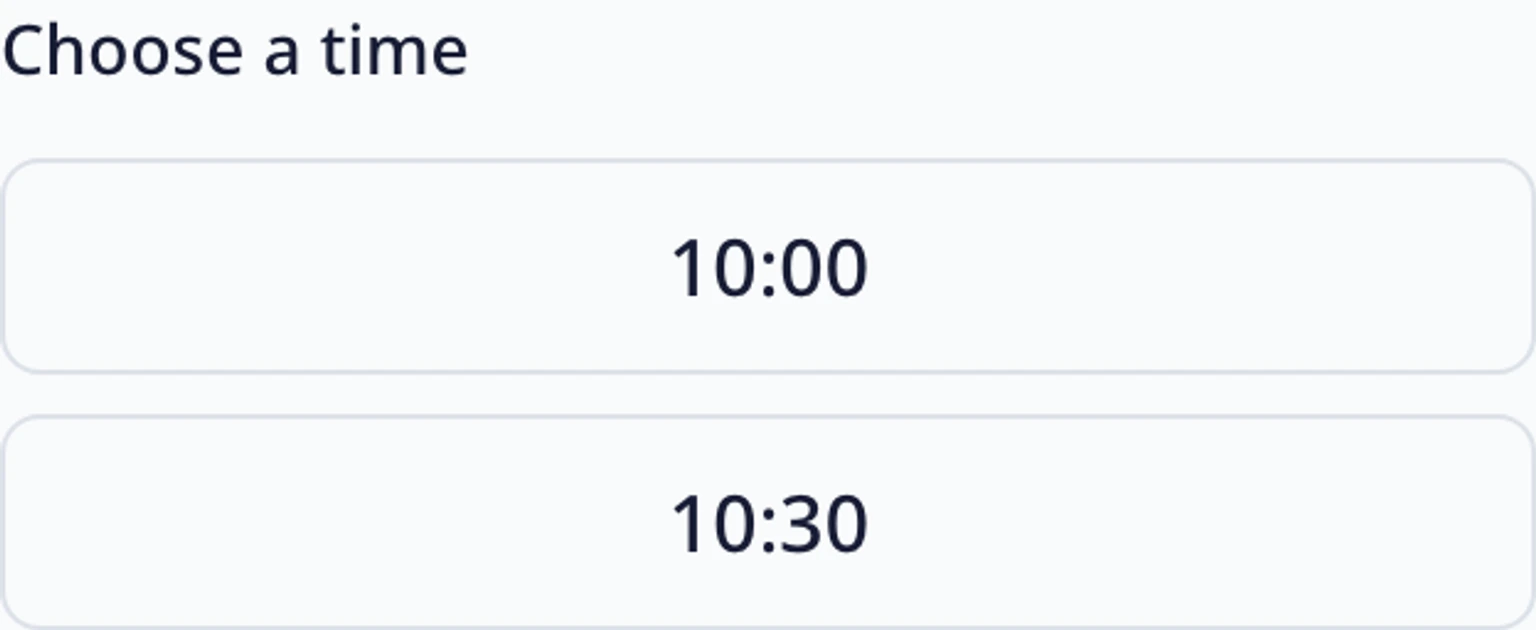
Choose an available time. The slot and its time zone stay together so you can check what the appointment means in your local time.


Review the booking before continuing

Read the summary for the service, date, time and selected region. Check that the + or - hours are what you expect.
If anything is wrong, choose Change date or return to the time zone selector and correct it before continuing.
Select Confirm this request only after the summary matches the appointment you want. A retry message means the availability check needs another attempt. It does not confirm a booking.
Confirm and keep the result

Check that the result confirms the appointment is booked. Choosing a date or time alone does not confirm the appointment.
Wait for the receipt or request reference. Save it if you need to ask the support team about the appointment later.
If the result says that approval or a support handoff is required, wait for the team's response instead of submitting the same request again.