

What you'll achieve
Knowledge is available only when the current customer matches an active, pinned audience.
Create an audience
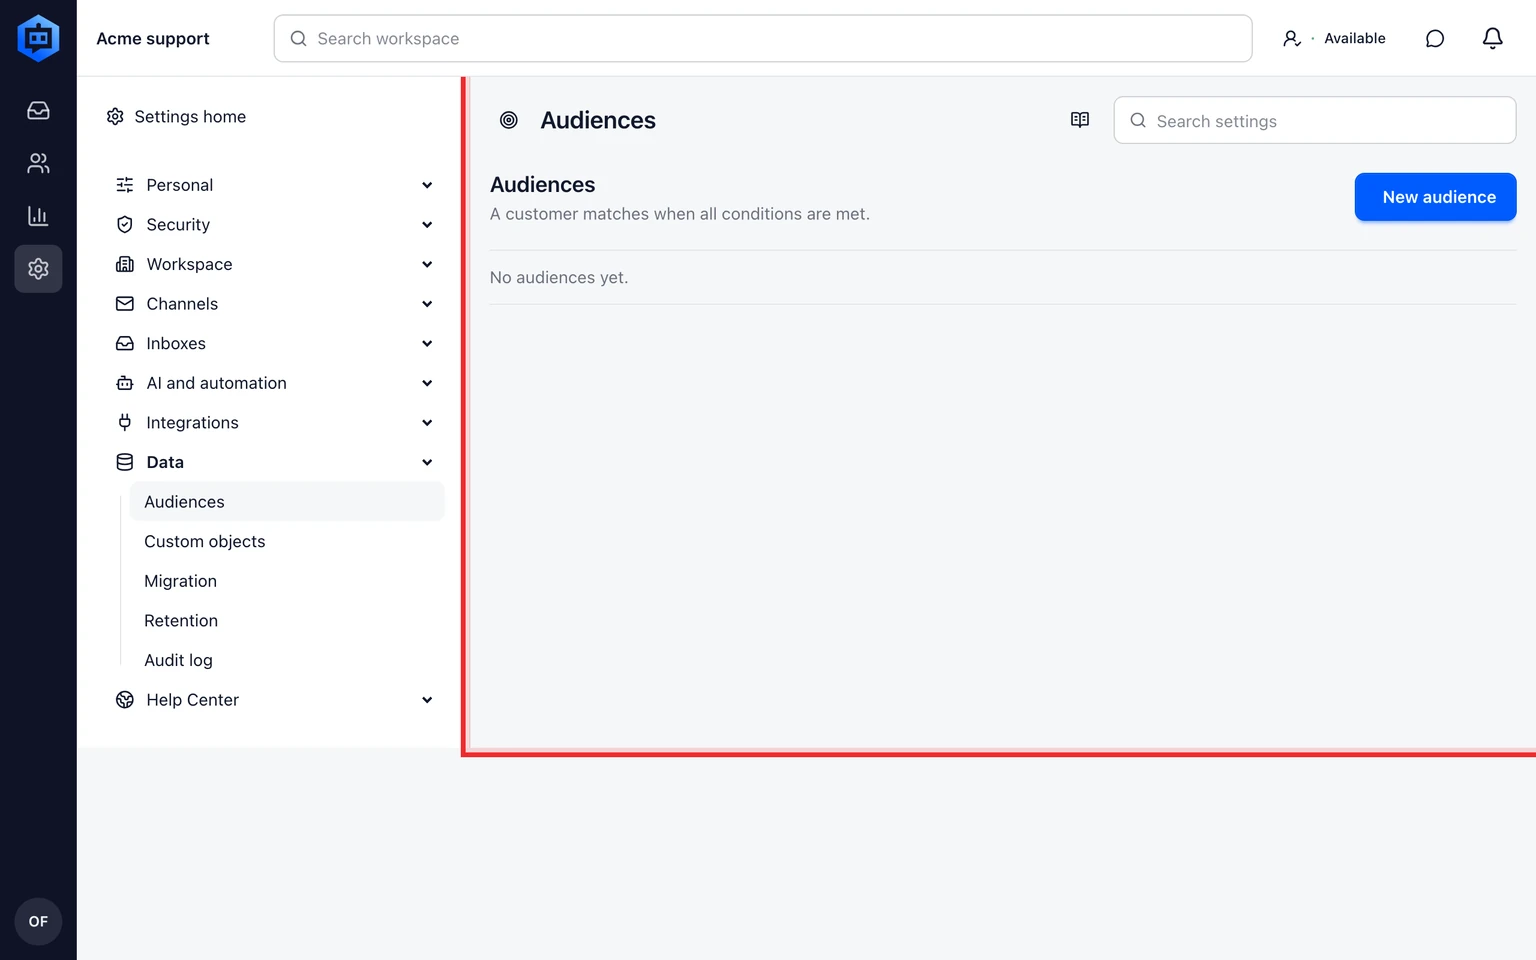
Open Settings > Data > Audiences.
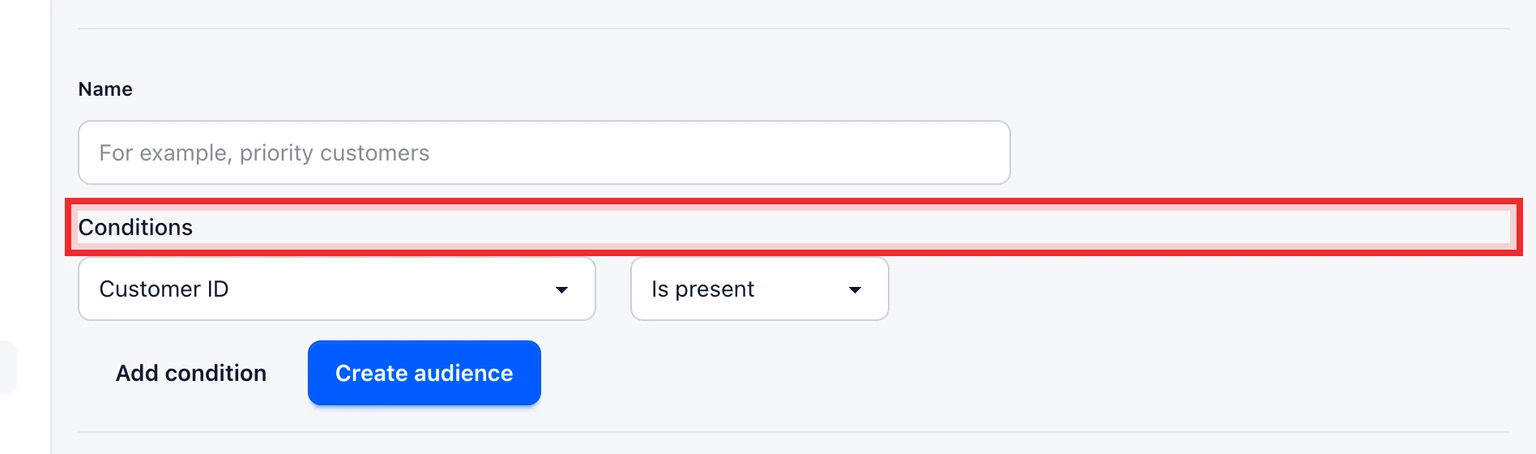
Enter a clear name, then choose a customer or company attribute, operator and value.
Choose Add rule for each additional condition, then select Create audience.

Understand matching
Every rule in one audience must match: an audience is an AND. For example, a customer tagged premium at a company with example.com must meet both conditions.
When a knowledge source has more than one selected audience, matching any selected audience is enough: the selection is an OR. The current source editor selects one audience at a time.
- Use customer ID, email domain or tag for customer-specific context.
- Use company ID or primary domain only when the customer's confirmed company context should control access.
- Use one of for alternative values in a single rule, for example two approved email domains.
Apply an audience to approved knowledge
Open Settings > AI & Automation > Knowledge sources and edit the source.
Under the audience selection choose an active audience, then save and approve the source revision.
After changing or disabling an audience, update the source scope and approve a new source revision before relying on it.

DobroDesk pins the selected audience version. If the audience is missing, disabled, changed or the customer context is incomplete, the source is excluded before retrieval or an AI answer. DobroDesk never substitutes a newer rule.