What you'll achieve
You know which provider to prepare, which DobroDesk screen to use and how to verify the first real message or imported record.
Prepare the shared DobroDesk pieces first
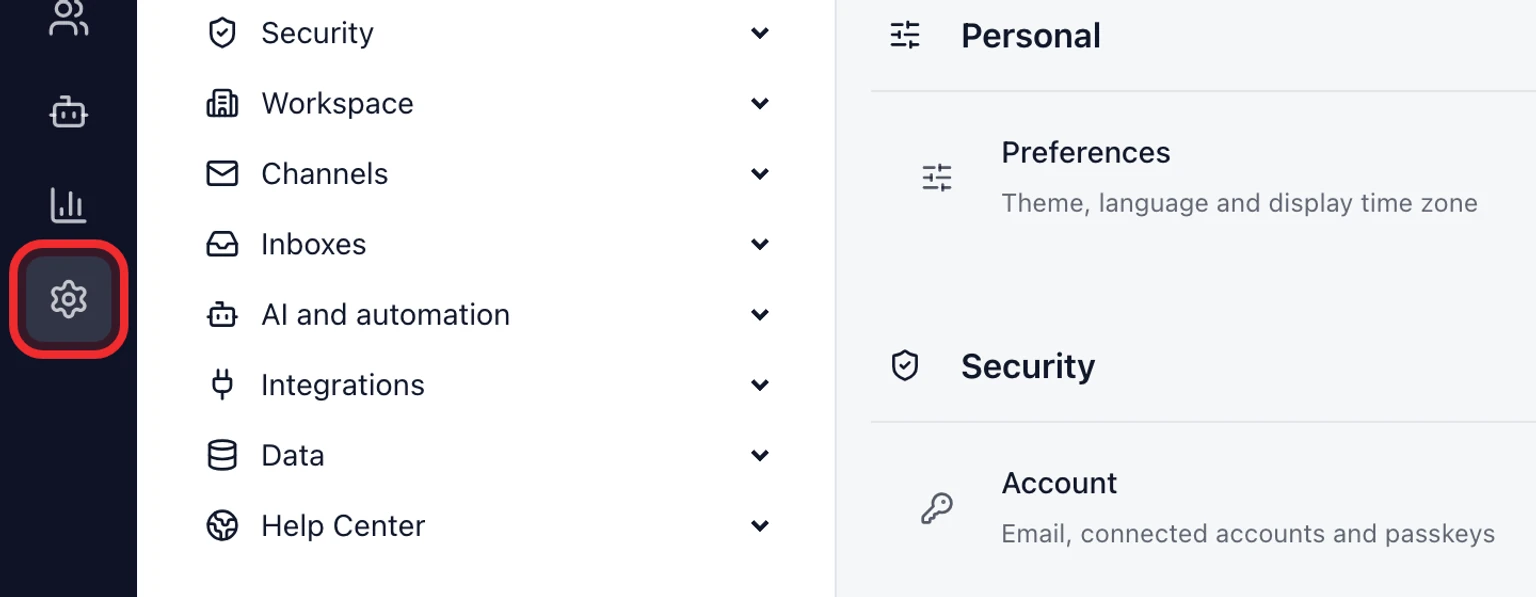
Every connection needs a workspace with the right owner or admin access, an active Brand when the channel uses one, a destination Inbox and a reply mailbox when customers will receive a response.
Prepare the account in the provider you are connecting. Keep provider secrets in the provider's secret or OAuth flow and never paste them into a public page, a browser console or a customer message.

- Use a unique test customer or email address that you can access.
- Decide which Inbox owns the channel before you start the connection.
- After saving, send one test message and verify the Channel, Inbox and customer identity in the new conversation.
Connect a customer message channel
Choose the provider guide for the channel where customers already write. Each guide lists the provider-side preparation, the exact DobroDesk fields and the delivery check.

Connect customer data or knowledge
These connections enrich an existing conversation or prepare reviewed knowledge. They do not replace the support channel and they do not automatically publish imported content.

Move history from another help desk
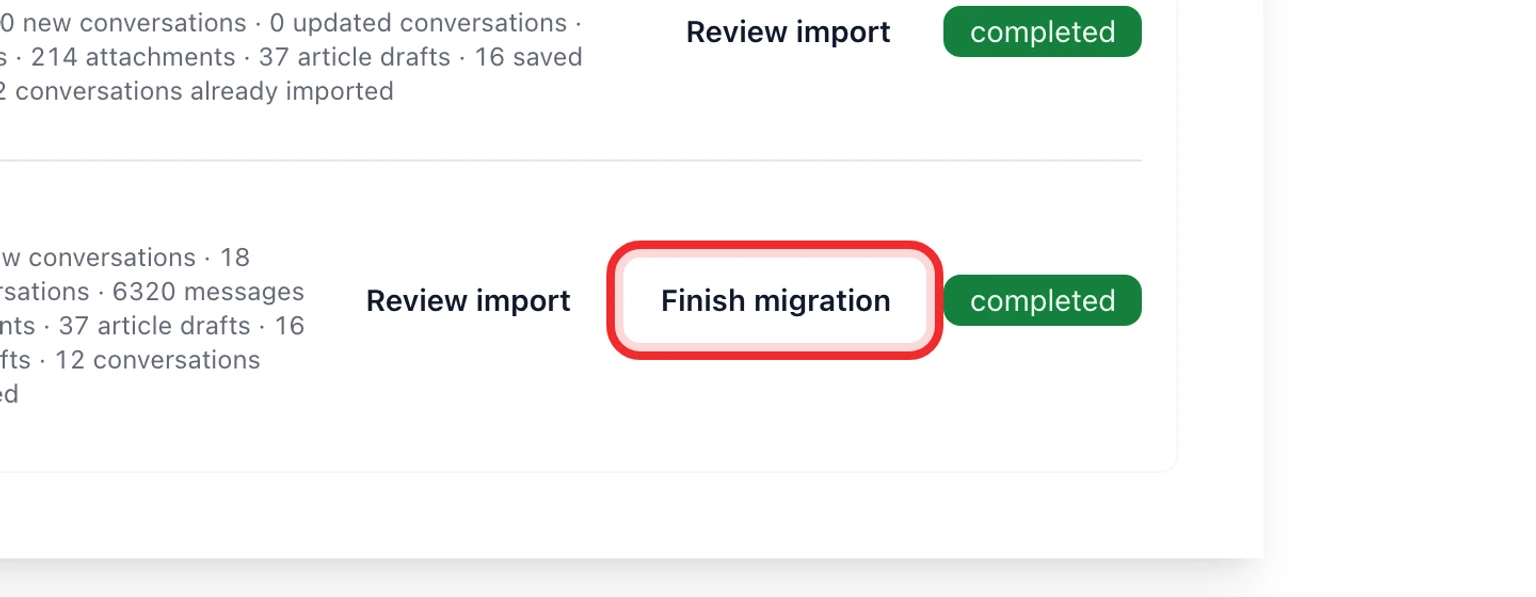
A migration starts with a read-only analysis, continues with a small test import and then performs the final delta after your team is ready. Keep the source system available until the final reconciliation is complete.

Install and launch the website widget
Use the script path for a site-wide install or the SDK path when application state controls initialization. Complete the domain, Inbox, identity, language and test steps before launch.

Use one repeatable verification checklist
Open the saved connection or widget in DobroDesk and confirm the status is Active, the destination Inbox is correct and the expected reply mailbox is selected.
Send one recognizable test message from an unrelated customer account or private browser window.
Find the conversation in the selected Inbox and verify Channel, customer email or provider identity and any imported context.
Reply once from DobroDesk, then confirm the provider or widget receives the reply without creating a second conversation.
For an importer, review the test run and warnings before starting historical data or finishing the final sync.